Coffee Ice Cream at Home: The Complete Guide to Rich, Creamy Frozen Coffee Dessert
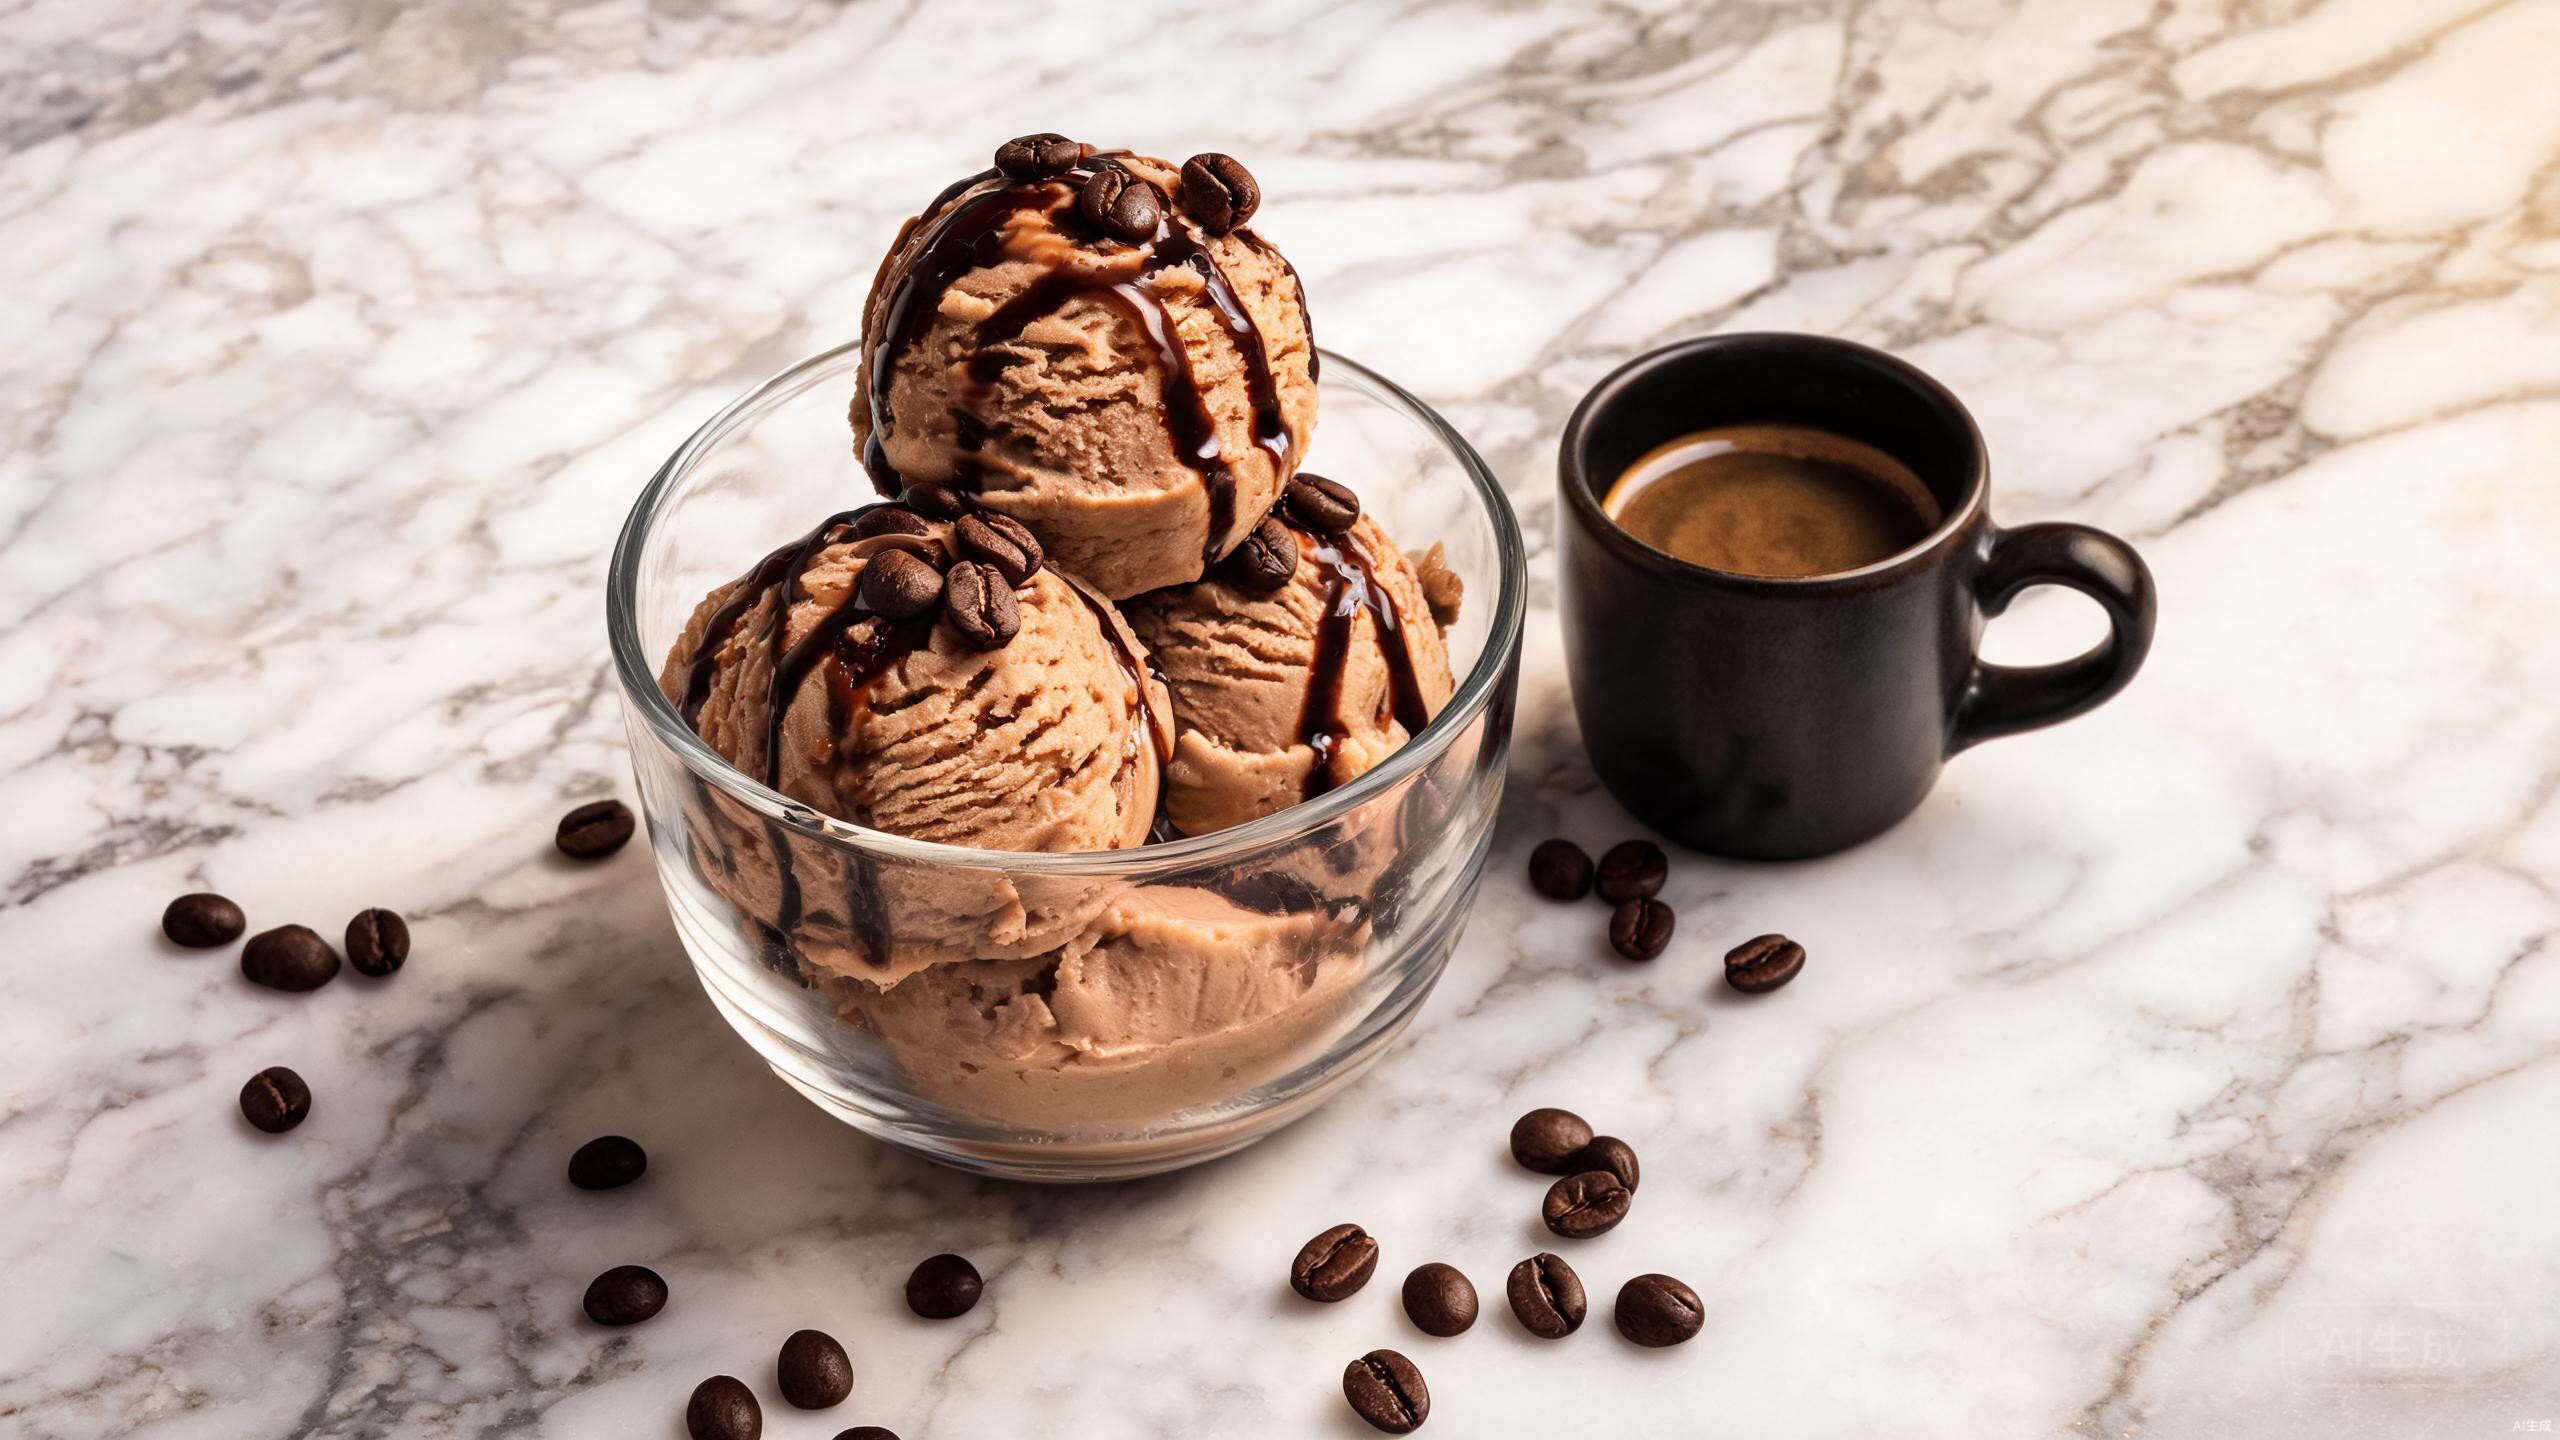
There are a few desserts that need no introduction, and coffee ice cream is one of them. It is the classic flavor everyone loves — the pint that disappears fastest from the freezer, the scoop that shows up on menus year after year, and the dessert that somehow tastes as perfect in the middle of July as it does on a crisp October evening. Coffee and cold, creamy dairy are one of the great flavor marriages in all of cooking: the deep, roasted, slightly bittersweet notes of coffee cut through the richness of cream, while the fat and sugar of the ice cream soften coffee's edges into something utterly indulgent.
In this complete guide, we'll show you exactly how to make coffee ice cream at home — no ice cream maker required. You'll learn the science behind a rich, creamy texture (why fat and sugar matter more than you think), how to build a properly balanced coffee concentrate or infusion, the step-by-step no churn coffee ice cream recipe, a churned vs no-churn comparison so you can pick the right method, five delicious variations, serving ideas, troubleshooting fixes, and the best glassware for serving this frozen dessert. Let's dive in.
Why Coffee Ice Cream Is the Ultimate Summer-to-Fall Dessert
Very few desserts are as seasonally versatile as coffee ice cream. In the summer, it's the sophisticated alternative to fruit sorbets and vanilla cones — a cool, refreshing scoop that pairs with everything from grilled fruit to a simple sugar cone. When the weather turns and the leaves start to change, coffee ice cream transforms into a cozy, comforting dessert that feels right at home in an affogato or on top of a warm brownie. It bridges the gap between seasons better than almost any other frozen dessert, which is exactly why it's a fixture on menus from Memorial Day through Thanksgiving.
The Flavor Everyone Agrees On
Ask a group of people to name their favorite ice cream flavor and you'll hear vanilla, chocolate, strawberry, mint chip. But coffee is the quiet champion — the flavor that appears in more combinations, more desserts, and more coffee shop freezers than almost any other. Why? Because coffee ice cream is endlessly adaptable. It works as a standalone scoop, a base for mix-ins, a topping for warm desserts, a float ingredient, and even a dessert component in coffee drinks. Its flavor is assertive enough to stand up to chocolate, caramel, and nuts, yet mellow enough that even people who say they "don't like coffee" tend to love it in ice cream form.
Hot Coffee Culture Meets Cold Dessert
Home coffee brewing has exploded over the past decade, and coffee ice cream is the natural intersection of that culture with home dessert making. When you already own a stovetop espresso maker, a coffee press, or a quality drip machine, you're literally halfway to a pint of extraordinary homemade coffee ice cream. The ingredients are simple, the technique is forgiving, and the payoff — a rich, creamy, deeply flavorful frozen coffee dessert made entirely by you — is enormous.
The Science of Coffee Ice Cream: Fat, Sugar, and Extraction
Before we get to the recipe, it helps to understand why coffee ice cream works the way it does. Great homemade coffee ice cream comes down to three variables you can control in your kitchen: fat content, sugar content, and how you extract the coffee. Get all three right and you'll have ice cream that scoops like a dream; get one wrong and you'll be dealing with icy crystals and off flavors.
Fat Is the Foundation of Creamy Mouthfeel
Ice cream is an emulsion: tiny droplets of fat suspended in water, held together by proteins, with air beaten in for a light texture. The fat content is what gives ice cream its signature creamy, coating mouthfeel. Higher fat means smaller ice crystals and a smoother texture, because fat interferes with the formation of large ice structures as the mixture freezes. Heavy cream (about 36-40% milk fat) is the workhorse of homemade ice cream for exactly this reason. When you combine heavy cream with sweetened condensed milk, you get a base with a very high fat content that freezes into a dense, scoopable, custard-like texture — no ice cream maker and no complicated churning needed. Skimp on the fat (by using half-and-half or milk in place of cream) and you'll feel the difference immediately in an icy, thin texture.
Sugar Is Your Ice Crystal Insurance
Sugar does far more in ice cream than make it sweet. Dissolved sugar lowers the freezing point of water, which means a sugary base freezes softer and forms smaller crystals than plain water would. This is the same reason salted roads don't freeze — solutes disrupt crystal formation. The sweetened condensed milk in the no-churn recipe carries a double benefit: it delivers a concentrated, syrupy sugar load (which keeps the finished ice cream smooth and scoopable straight from the freezer) and its viscous texture gives the base body. If you cut the sugar dramatically, you'll pay for it in ice crystals and rock-hard ice cream.
Coffee Extraction Determines the Flavor Balance
The coffee flavor in your ice cream is the star of the show, so how you extract it matters enormously. Coffee contains hundreds of flavor compounds: bright, fruity acids; caramelized sugars from roasting; and bitter compounds that dominate when extraction goes too far. For ice cream, you want the sweet, deep, chocolatey middle of that range, not the bitter over-extraction that comes from boiling coffee or leaving grounds in contact with water for too long. That's why the infusion and concentrate methods in the next section are designed to extract coffee gently and completely, giving you maximum flavor with minimum bitterness.
Don't Forget Salt and Vanilla
Two tiny additions do outsized work in coffee ice cream. A pinch of salt sharpens and brightens the coffee flavor while taming any lingering bitterness, and a teaspoon of vanilla extract rounds out the roasted notes the way it does in a cup of coffee with cream. These aren't optional garnish — they're what make the difference between "coffee-flavored frozen milk" and a genuinely balanced, professional-tasting frozen coffee dessert.
How to Make Coffee Concentrate and Infusion for Ice Cream
You have two excellent options for getting coffee flavor into your ice cream base: a slow cold infusion where the coffee steeps directly in the cream, or a quick, strong brew that you cool and fold into the mixture. Both produce dramatically better results than just pouring leftover drip coffee into the base, which adds too much water and dilutes the creaminess. Here's how to do both properly.
Option 1: Cold Coffee Cream Infusion (Overnight)
Time: 12-24 hours (hands-off) | Difficulty: Easy | Yield: Enough for one batch of ice cream
Ingredients
- 2 cups heavy cream
- 1/2 cup coarsely ground coffee — a medium roast with chocolate or caramel notes works best; use a coarse grind so it strains out easily
Instructions
- Combine. In a large jar or a 40oz glass teapot with infuser, add the coarsely ground coffee and pour the heavy cream over it. Stir gently to make sure every bit of coffee is saturated.
- Steep overnight. Cover and refrigerate for 12 to 24 hours. The longer you steep, the stronger the coffee flavor — 12 hours gives a mellow profile, 24 hours a bold one.
- Strain. Strain the cream through a fine mesh strainer lined with cheesecloth or a clean coffee filter. Press gently on the grounds to release the last of the cream, then discard the grounds.
- Proceed with the recipe. Use this coffee-infused cream exactly as you would the plain heavy cream in the no-churn recipe below.
Option 2: Quick Strong Brew Concentrate
Time: 10 minutes | Difficulty: Easy | Yield: About 1/3 cup concentrate
Ingredients
- 1/3 cup strong brewed coffee — brew a double-strength batch with a stovetop espresso maker, a portable coffee press, or a drip machine using twice the normal amount of grounds
Instructions
- Brew strong. Make about 1/3 cup of very strong coffee. A stovetop espresso maker is ideal — it produces the concentrated, syrupy brew that gives ice cream real coffee character. A portable coffee press with a fine grind and a 1:4 coffee-to-water ratio also works beautifully.
- Cool completely. Let the coffee come to room temperature, then chill it in the refrigerator for at least 15 minutes. Hot coffee poured into cold cream can destabilize the whipped mixture, so never rush this step.
- Fold into the base. Use the chilled concentrate in the no-churn recipe below.
The No-Churn Coffee Ice Cream Recipe (No Ice Cream Maker Needed)
This is the recipe that turns any home kitchen into an ice cream shop. It requires just four main ingredients, about 15 minutes of active work, and a freezer — no ice cream maker, no churning, no tempering eggs. The technique relies on two pillars: heavy cream whipped to stiff peaks (which folds in the air that a churn would normally add) and sweetened condensed milk (which brings the sugar and body that keep the finished dessert creamy).
Classic No-Churn Coffee Ice Cream
Time: 15 minutes prep + 6 hours freezing | Difficulty: Easy | Servings: About 8 scoops (1 quart)
Ingredients
- 2 cups heavy cream (cold)
- 1 can (14 oz / 397 g) sweetened condensed milk
- 3 tablespoons strong coffee concentrate (or 2 shots of espresso, cooled) — from the infusion or quick-brew methods above
- 1 teaspoon vanilla extract
- 1/4 teaspoon fine salt
Equipment
- Large mixing bowl and a hand mixer or stand mixer (a whisk works too, it just takes longer)
- Rubber spatula for folding
- Airtight freezer container (a standard 9x5 loaf pan or any 1.5-quart freezer-safe dish works)
- MESNEY 17oz double wall glass mug — for serving the finished scoops (more on this below)
Instructions
- Chill everything. Place your mixing bowl, whisk attachment, and the can of sweetened condensed milk in the refrigerator for 15-20 minutes before you start. Cold equipment is the difference between soft peaks and a lumpy mess.
- Combine the flavor base. In a small bowl, stir together the sweetened condensed milk, chilled coffee concentrate, vanilla extract, and salt. Set aside. This is where you'd fold in any variation add-ins later.
- Whip the cream. Pour the cold heavy cream into the chilled mixing bowl. Whip on medium-high speed until stiff peaks form — the cream should hold a firm peak that stands straight up when you lift the beater. Do not over-whip into butter; stop the moment the peaks are stiff and glossy.
- Fold gently. Add the coffee-condensed milk mixture to the whipped cream. Fold with a rubber spatula using broad, sweeping motions, rotating the bowl as you go. Fold just until no white streaks remain — about 20 to 30 folds. This is the step where you preserve all the air you whipped in, so be gentle.
- Freeze. Transfer the mixture to your freezer container and smooth the top with the spatula. Cover tightly (a layer of plastic wrap pressed directly against the surface works best) and freeze for at least 6 hours, ideally overnight.
- Serve. Let the ice cream sit at room temperature for 5-10 minutes before scooping, then serve it in a chilled MESNEY double wall glass mug or bowl. It will be creamy, rich, and scoopable — no churn required.
Churned vs No-Churn: Which Should You Make?
Both methods make delicious coffee ice cream, but they're genuinely different products with different trade-offs. If you already own an ice cream maker, the churned version uses the same base ingredients with a custard-style approach. If you don't, the no-churn recipe above is not a compromise — it's a distinct technique that many home cooks actually prefer for its dense, creamy, almost gelato-like texture. Here's how they stack up:
| Consideration | No-Churn (This Recipe) | Churned (Ice Cream Maker) |
|---|---|---|
| Equipment needed | Mixer or whisk + freezer container | Ice cream maker with pre-frozen bowl (or compressor model) |
| Texture | Dense, rich, velvety — closer to gelato | Lighter, airier, softer — classic American style |
| Prep time | 15 minutes active, 6+ hours freezing | 20-30 minutes active, 1 hour churn, several hours hardening |
| Air (overrun) | Whipped-in air, roughly 30-40% | Churned-in air, up to 50-100% |
| Cost | No special equipment needed | Requires an ice cream maker investment |
| Best for | Weeknight desserts, small kitchens, beginners | Large batches, airy soft-serve style, frequent ice cream makers |
| Flavor control | Excellent — same ingredients, full control | Excellent — same ingredients, full control |
The verdict? Start with no-churn. It costs nothing extra, takes less than 20 minutes of actual work, and produces a deeply satisfying, dense and creamy coffee ice cream that most people can't tell apart from a premium store-bought pint. If you fall in love with the process, an ice cream maker is a worthwhile upgrade later — but it is absolutely not required to make outstanding homemade coffee ice cream.
5 Delicious Coffee Ice Cream Variations
Once you've mastered the classic no-churn coffee ice cream recipe, these five variations let you customize it endlessly. Each one builds on the same base — just swap or add a few ingredients in the "flavor base" step (step 2 of the recipe above).
1. Mocha Chip (Chocolate Coffee)
Whisk 2 tablespoons unsweetened cocoa powder into the sweetened condensed milk along with the coffee concentrate — sift it in to avoid lumps. After folding the base together, gently fold in 3/4 cup chopped dark chocolate (or chocolate chips). The chocolate shards freeze into satisfyingly crunchy bits against the smooth coffee-cream base, and the cocoa deepens the roasted notes of the coffee. For an even more intense mocha, use a darker roast coffee in your concentrate.
2. Espresso Cookie (Cookies and Cream)
Fold 6 to 8 crushed chocolate sandwich cookies (about 1 cup of chunks and crumbs) into the finished base right before freezing. Keep the pieces uneven — some coarse chunks, some fine crumbs — so every scoop has a mix of crunchy and soft textures. The crumbly cookie pieces soak up a little of the coffee cream as the dessert freezes, creating soft, fudge-like pockets. This variation is essentially cookies-and-cream with a coffee upgrade, and it's the single most popular version in our test kitchen.
3. Vietnamese Coffee Style (Condensed Milk Rich)
Vietnamese coffee is famous for its intensely strong dark roast brewed directly over sweetened condensed milk, and you can recreate that flavor profile in ice cream form. Use a dark roast coffee for the concentrate, and replace half of the vanilla with 1/2 teaspoon of the coffee-flavored alternative if you like (optional). The key move: increase the sweetened condensed milk by 2 extra tablespoons and reduce the heavy cream to 1 3/4 cups to compensate. The result is a deeper, maltier, almost caramel-sweet coffee ice cream that tastes distinctly Southeast Asian. For a traditional touch, drizzle a little extra condensed milk over each scoop before serving.
4. Salted Caramel Coffee
Fold 1/2 cup caramel sauce into the finished base in two additions — half folded in for even distribution, and half swirled in with just two or three strokes so it stays in ribbons. Before freezing, sprinkle 1/2 teaspoon flaky sea salt over the top and fold once. As the ice cream freezes, the salt dissolves into the ribbons, so each scoop delivers salty-sweet caramel against the bittersweet coffee base. This variation is dessert perfection on its own or over a warm chocolate cake.
5. Vegan Coconut Coffee
For a completely dairy-free coffee ice cream, replace the heavy cream with 2 cans (13.5 oz each) full-fat coconut cream (chilled) and use 1 cup sweetened condensed coconut milk in place of the dairy condensed milk. Whip the cold coconut cream to stiff peaks exactly as you would heavy cream — full-fat coconut cream whips beautifully when very cold. Combine with the chilled coffee concentrate and a pinch of salt, fold, and freeze. The coconut fat provides the same creamy mouthfeel as dairy cream, and the subtle coconut sweetness pairs surprisingly well with coffee. To keep the focus on the coffee, skip any added coconut flavoring — just the cream itself.
Serving Suggestions: Three Ways to Enjoy Coffee Ice Cream
A great batch of homemade coffee ice cream deserves a few signature presentations. These three are the classics — each one takes about two minutes and turns a scoop into an occasion.
Affogato-Style
The affogato is the simplest of all coffee desserts: one or two scoops of coffee ice cream in a glass, with a hot shot of espresso poured over the top. The heat melts the edges of the ice cream into a creamy, frothy sauce while the cold center stays firm — a contrast of temperatures and textures that's genuinely magical. Serve it in a MESNEY double wall espresso cup (the 4oz or 6.7oz size is perfect) so the glass stays comfortable to hold while the espresso and melting cream create beautiful swirls you can see through the transparent walls.
Coffee Ice Cream Float
Yes, floats aren't just for root beer. Scoop two generous balls of coffee ice cream into a tall glass, pour cold brewed coffee or espresso over the top to fill the glass two-thirds full, then crown it with a splash of carbonated soda water or a cold-press-style sparkling coffee if you have it. The fizz, the cream, and the coffee combine into a frothy, nostalgic summer drink that's far more sophisticated than it sounds. A double wall glass mug keeps the float cold and your hands dry while the layers do their thing.
The Ultimate Coffee Sundae
Layer scoops of coffee ice cream with warm chocolate sauce, toasted nuts, and a dollop of whipped cream for the definitive coffee sundae. The bitter-sweet coffee ice cream is the perfect counterweight to the sweet chocolate and the nutty crunch. For an autumn twist, swap the chocolate for caramel sauce and top with crushed shortbread cookies — suddenly your summer favorite is the perfect fall dessert.
Troubleshooting: Common Problems and How to Fix Them
Even the best recipes can go sideways. Here are the four most common issues with homemade coffee ice cream and exactly how to fix them.
Problem: The ice cream is icy or gritty
Cause: Too much water in the base, not enough fat or sugar, or too much time in a freezer with a fluctuating temperature.
Solution: Make sure your coffee is a concentrated infusion or strong brew, never watery drip coffee, and always cool it completely before adding (hot water breaks down the whipped cream structure). Don't reduce the cream or condensed milk quantities — both are doing structural work. And keep the container in the coldest part of the freezer, never near the door, where temperature swings melt and refreeze the surface into crystals.
Problem: The ice cream tastes too bitter
Cause: Over-extracted coffee, too-dark a roast, or steeping the grounds for too long.
Solution: Switch to a medium or medium-dark roast — very dark roasts can taste burnt and acrid when concentrated. Keep the overnight infusion to 24 hours maximum, and if you're using a stovetop espresso maker, remove it from the heat the moment the brew starts to sputter (the last bit of extraction is pure bitterness). A pinch more salt also helps blunt bitter edges.
Problem: The ice cream is too sweet
Cause: Sweetened condensed milk plus a sweet, mild coffee adds up fast.
Solution: Use a bolder, more assertive coffee concentrate — stronger coffee flavor balances sweetness naturally. You can also use 1/2 cup sweetened condensed milk + 1/2 cup heavy cream in place of the full can (this also slightly reduces sugar without ruining texture), or add a tablespoon of espresso concentrate and an extra pinch of salt. Remember that cold suppresses sweetness perception, so taste the base at room temperature and expect it to taste slightly sweeter when frozen.
Problem: It won't freeze (or turns rock hard)
Cause: Two opposite problems with the same symptom. If it won't freeze, the base likely has too much sugar or liquid — usually from adding extra syrups or watery mix-ins. If it freezes rock hard, it usually means too little sugar or air.
Solution: For too-soft: cut back on any added syrups and dry your mix-ins (pat chocolate with paper towels if it has moisture). For rock-hard: be sure to fold in plenty of air at the whipped cream stage and follow the recipe's sugar amounts — sugar is what keeps ice cream scoopable at freezer temperature. If a batch is already rock hard, let it sit at room temperature for 10-15 minutes before scooping, or microwave the scoop by 5-second bursts.
Storage: How Long It Lasts and How to Prevent Freezer Burn
Homemade coffee ice cream keeps well, but it's a perishable dessert, and a few simple habits will keep it tasting fresh for as long as possible.
- Use an airtight container. A freezer-safe container with a tight lid is non-negotiable. Exposed surfaces dry out and pick up freezer odors within days.
- Press plastic wrap onto the surface. Before lidding, press a layer of plastic wrap directly against the ice cream. This is the single most effective trick for preventing freezer burn and ice crust.
- Store in the back of the freezer. The back is coldest and most temperature-stable. Avoid the door shelves, which warm up every time you open the fridge.
- Eat it within 1-2 weeks. Homemade ice cream has no commercial stabilizers, so it's at its absolute best within the first week. It stays safe far longer, but flavor and texture slowly decline after two weeks.
- Label it. Write the flavor and date on the lid so you always know what's in there — and know exactly how fresh it is.
Why MESNEY Double Wall Glass Mugs Are Perfect for Serving Coffee Ice Cream
You made the ice cream. Now serve it the way it deserves. The right vessel does three jobs for a frozen dessert: it keeps the ice cream cold, it protects your hands from that cold, and it shows off the dessert's beautiful layers and colors. MESNEY double wall borosilicate glass does all three, which is why it's our favorite way to serve coffee ice cream — from an affogato to a float to a simple scoop.

17oz Double Walled Glass Coffee Mug (1pc)
Why it's the best glass for coffee ice cream: The 17oz capacity is perfect for a generous two-scoop serving, an affogato with room for espresso, or a coffee float. The double wall construction keeps the ice cream cold for longer and prevents condensation, so your hands and table stay dry even as the dessert melts. The transparent borosilicate glass showcases the gorgeous layers of a coffee float or sundae, and the thermal shock resistance means you can pour hot espresso straight into the glass for an affogato without worrying about cracking. This is the glass that makes your homemade dessert look like it came from a coffee shop.
Buy on Amazon
40oz Glass Teapot with Infuser
Perfect for the overnight cold infusion method — steep your coarsely ground coffee in cream right in the built-in infuser, then remove the basket and pour through the spout. The heat-resistant borosilicate glass handles cold infusions just as happily as hot brews, and it doubles as a beautiful brewer for making big batches of coffee concentrate.
Buy on Amazon
Double Wall Espresso Cups (Set of 2, 4oz)
The perfect size for a single-scoop affogato. The double wall keeps the glass cool to the touch while the hot espresso melts the ice cream, and the thick borosilicate glass takes the temperature shock of hot coffee over frozen dessert in stride. Beautifully shows the espresso-cream swirl as it forms.
Buy on Amazon
Double Wall Espresso Cups (Set of 4, 6.7oz)
Four cups with a touch more room — ideal for serving affogato or single scoops to the whole family or a dinner party. Same double wall insulation and thermal shock resistance as the smaller set, with a larger 6.7oz capacity that holds a generous scoop plus the espresso pour.
Buy on AmazonWhy Double Wall Glass Is Ideal for Coffee Ice Cream
- Keeps it cold longer: The insulating air layer between the walls slows heat transfer, so your scoop stays frozen and creamy through the last bite instead of turning to soup.
- No condensation, no wet hands: With regular glass, a frozen dessert means a dripping, slippery glass within minutes. Double wall construction eliminates the sweat entirely.
- Showcases the layers: Coffee floats, sundaes, and affogatos are layered desserts — dark coffee, cream, ribbons of sauce. Transparent borosilicate glass turns every serving into a visual show.
- Thermal shock resistance: Pour hot espresso over frozen ice cream and ordinary glass will crack. Borosilicate glass is engineered to survive exactly that dramatic temperature swing.
- Comfortable to hold: The outer wall stays at a comfortable temperature even when the contents are well below freezing — no coaster, no napkin, no burned or frozen fingers.
Frequently Asked Questions
Can I make coffee ice cream without an ice cream maker?
Absolutely. The no-churn coffee ice cream recipe in this guide is made with whipped heavy cream, sweetened condensed milk, strong coffee concentrate, and vanilla — no ice cream maker needed. The air that a churn would normally incorporate is whipped directly into the cream, and the sweetened condensed milk provides the sugar and body that keep the dessert creamy. It freezes in about 6 hours and scoops beautifully straight from the freezer.
Which coffee is best for coffee ice cream?
A medium or medium-dark roast with chocolate, caramel, or nutty tasting notes produces the best coffee ice cream. Medium roasts give you the full range of sweet, fruity, and caramelized flavors without the harsh bitterness of very dark roasts. For the richest result, use a concentrated brew (stovetop espresso maker or strong drip) or steep the grounds directly in cream overnight — the infusion method adds flavor without adding water.
How long does homemade coffee ice cream last in the freezer?
Homemade coffee ice cream is at its best within the first 1-2 weeks. Without commercial stabilizers, it slowly develops ice crystals and loses its creamy texture after that. To maximize freshness, store it in an airtight container in the coldest part of the freezer, press plastic wrap directly onto the surface, and label it with the date. It remains safe to eat well beyond two weeks, but flavor and texture decline.
Why is my homemade coffee ice cream icy instead of creamy?
Icy texture usually means too much water, too little fat, or too little sugar in the base. Use a concentrated coffee infusion or strong brew rather than watery brewed coffee, cool everything completely before combining, don't skimp on the heavy cream or condensed milk, and keep the container in the coldest, most temperature-stable part of the freezer. Pressing plastic wrap onto the surface before lidding also prevents the icy crust that forms on exposed surfaces.
Can I make dairy-free coffee ice cream?
Yes. Replace the heavy cream with full-fat coconut cream (whipped cold to stiff peaks) and use sweetened condensed coconut milk in place of the dairy version. The coconut fat provides the same creamy mouthfeel, and the coffee flavor stays front and center. See the Vegan Coconut Coffee variation above for the exact proportions.
How much caffeine is in a serving of coffee ice cream?
A standard scoop of homemade coffee ice cream made with 3 tablespoons of strong concentrate contains roughly 30-60 mg of caffeine — comparable to a small cup of tea and noticeably less than a cup of brewed coffee. Because the coffee is diluted across the whole batch, even coffee lovers usually enjoy it without any caffeine jitters, making it a reasonable evening dessert.
The Bottom Line
Coffee ice cream is one of those desserts that feels both nostalgic and sophisticated at the same time — and now you know exactly how to make it at home. The science is simple: fat for creaminess, sugar to keep crystals small, and properly extracted coffee for a deep, balanced flavor. The technique is forgiving: whip some cream, fold in condensed milk and coffee, freeze, and you're done. No ice cream maker, no special skills, no expensive equipment.
Once you've made the classic batch, the variations are where the fun really starts. Mocha chip for the chocolate lovers, espresso cookie for cookies-and-cream fans, Vietnamese coffee style for something deeply caramel-rich, salted caramel coffee for the salty-sweet crowd, and vegan coconut coffee so everyone at the table gets a scoop. Serve it affogato-style with hot espresso, layered into a coffee float, or stacked into the ultimate sundae — each presentation shows off a different side of the same great dessert.
And when you're ready to serve, reach for a MESNEY double wall glass mug. It keeps every scoop cold to the last bite, stays condensation-free in your hand, and shows off the beautiful layers of your homemade creation. Brew the concentrate, whip the cream, fold it together, and freeze. In six hours, you'll have the richest, creamiest coffee ice cream you've ever tasted — made entirely in your own kitchen.
Make the base. Choose your variation. Serve it cold. Enjoy the best homemade coffee ice cream of your life.
As an Amazon Associate, MESNEY earns from qualifying purchases. Prices and availability are subject to change.