Kombucha at Home: The Complete Guide to Brewing Your Own Probiotic Tea
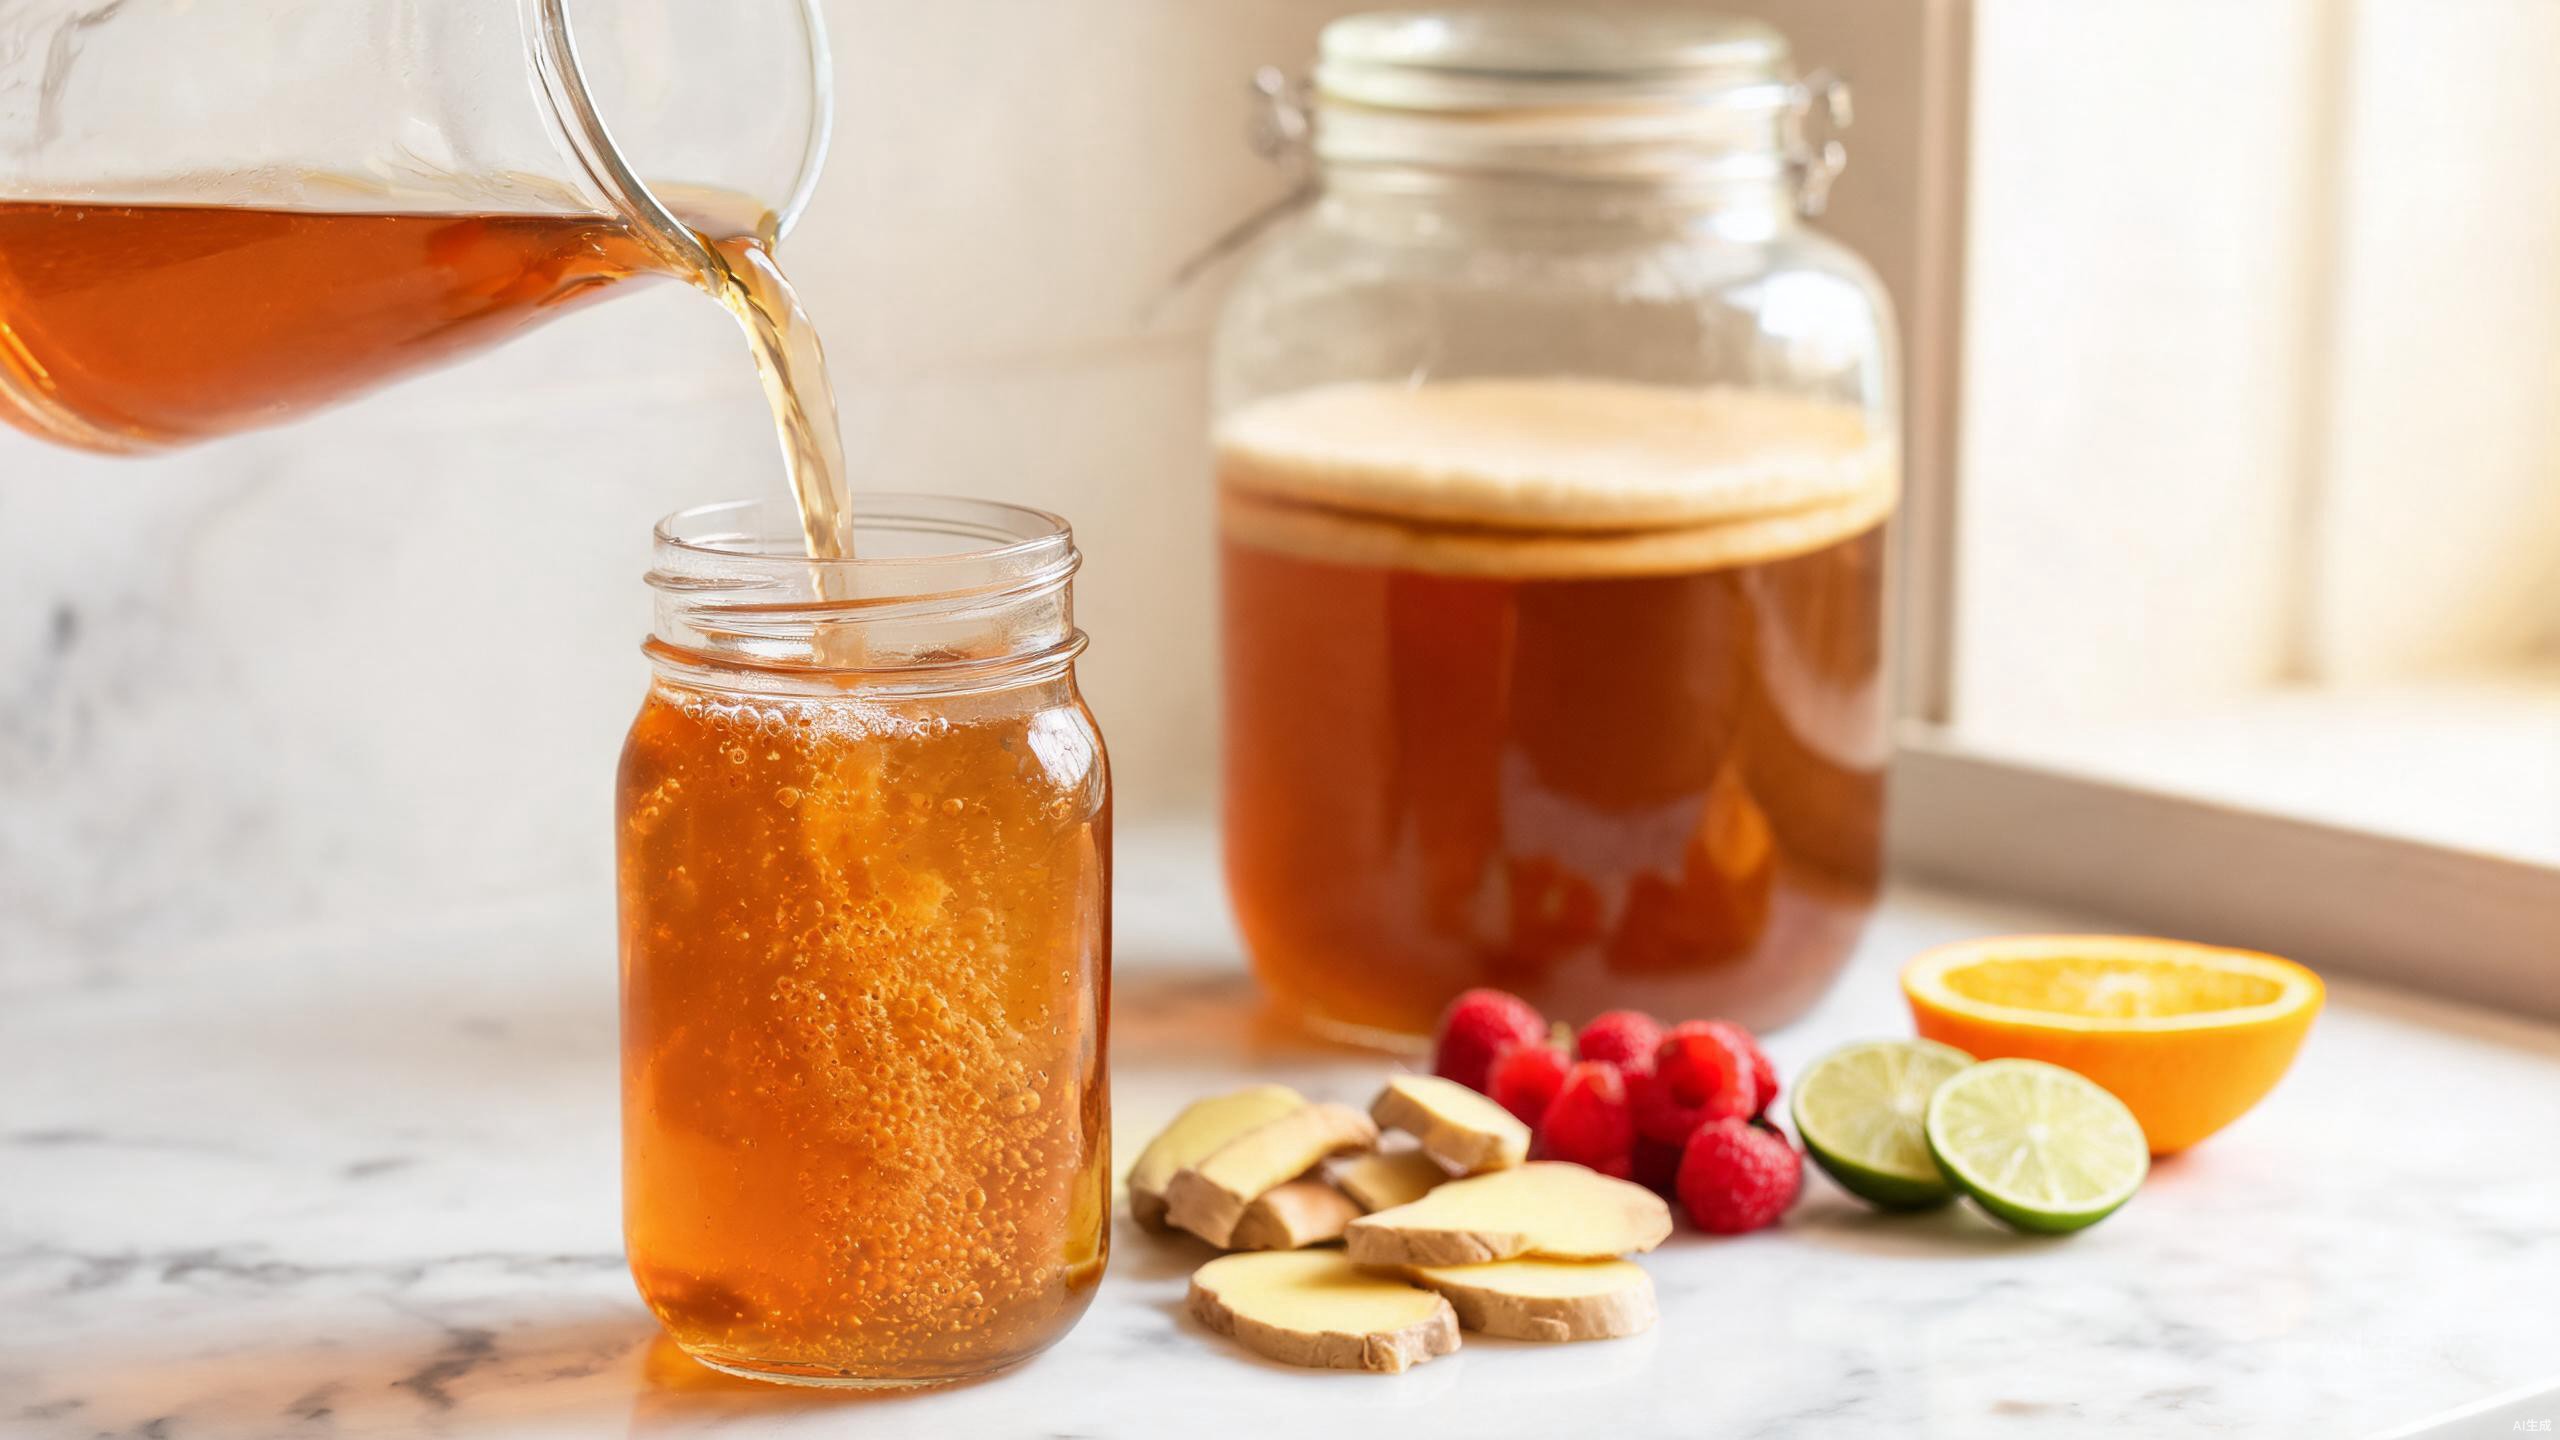
Kombucha is the fermented tea that has taken the wellness world by storm — and it's surprisingly easy to brew at home. A bottle of raw kombucha at the store typically costs $3 to $5 for just 16 ounces. Over a year, that habit adds up to hundreds of dollars. But kombucha is one of the simplest fermented foods to make in your own kitchen: for pennies per glass, you get a sparkling, tangy, probiotic-rich drink that you can flavor exactly the way you like it.
In this complete guide, we'll cover everything you need to know about kombucha at home: what it actually is, its remarkable 2,000-year history, the health benefits (with honest caveats), what a SCOBY is and how to grow your own, the equipment you need and why glass matters so much, a step-by-step first-batch recipe, the second fermentation that creates fizz and flavor, six flavoring ideas, a comparison of kombucha against other popular drinks, troubleshooting for common problems, and the safety rules every home brewer should know. Let's get brewing.
What Is Kombucha?
Kombucha is a fermented, lightly effervescent sweet tea beverage made by adding a SCOBY — a symbiotic culture of bacteria and yeast — to sweetened black or green tea and letting the mixture ferment for 7 to 14 days at room temperature. During fermentation, the yeast consumes most of the sugar in the tea, producing carbon dioxide (which creates the natural fizz) and small amounts of alcohol. Meanwhile, beneficial bacteria convert that alcohol into organic acids, including acetic acid, gluconic acid, and lactic acid, which give kombucha its signature tangy, slightly sour profile.
The result is a complex, tea-based drink with a flavor that lands somewhere between sparkling apple cider and lightly sweetened iced tea with a subtle vinegar-like bite. It is naturally carbonated, gently sweet, and refreshingly acidic — a flavor combination you either love instantly or acquire a taste for. Most people drink it chilled, often over ice, and it pairs beautifully with fruit, ginger, herbs, and spices.
If you've seen pictures of kombucha, you've probably noticed the strange, rubbery disc floating on top of the liquid. That's the SCOBY — sometimes called the "mother" or the "pellicle" — and it's the heart of the entire process. Every batch of kombucha grows a fresh layer of SCOBY, which is why one culture can theoretically keep brewing indefinitely.
A Brief History of Kombucha
Kombucha is not a modern trend — it is one of the oldest fermented beverages on the planet, with a documented history spanning more than 2,000 years. Historians generally trace its origins to China around 220 BC, during the Qin dynasty, where a fermented tea drink made with a "tea fungus" was prized for its purported healing properties and given a fitting nickname: "The Tea of Immortality."
From China, kombucha traveled along the Silk Road trade routes into Central Asia and then into Russia, where it became known as tea kvass and earned a devoted following among peasants and nobility alike. Russian households brewed it in large jars, and it became a staple of traditional home medicine. By the early 20th century, kombucha had spread across Europe — particularly through Germany, where it was widely consumed after World War I as food shortages made fermentation a practical way to preserve nutrition.
The modern kombucha revival began in the 1990s as interest in fermented foods, gut health, and home brewing surged, and it has only accelerated since. Today, kombucha is a global phenomenon: home brewers produce it in kitchens everywhere, and it has become one of the most popular fermented drinks in the Western world. What's remarkable is that the process used today is essentially the same one perfected two millennia ago.
Health Benefits of Kombucha (With Honest Caveats)
Kombucha's reputation as a health drink rests on several well-studied properties. Let's look at what science actually supports — and be honest about the limitations.
- Probiotics and gut health. Because kombucha is a live, fermented beverage, it contains beneficial bacteria and yeast cultures. When consumed raw and unpasteurized, these live cultures can support the diversity of your gut microbiome, which is increasingly linked to digestion, immunity, and even mood. This is the most commonly cited benefit of kombucha — and the most plausible.
- Antioxidants from tea. Kombucha is made from tea, and tea is rich in polyphenols — antioxidant compounds that help neutralize free radicals in the body. The fermentation process actually transforms some tea compounds into new acids and enzymes, and studies suggest fermented tea retains much of its antioxidant activity. Antioxidants are associated with reduced oxidative stress and lower risk of chronic disease.
- B vitamins. The fermentation process can generate B vitamins, including B1, B6, and B12, as byproducts of yeast and bacterial metabolism. While amounts vary widely between batches, kombucha is often described as a source of these important vitamins that support energy metabolism and nervous system function.
- Acetic acid and organic acids. The organic acids produced during fermentation — including acetic acid (the main component of vinegar) — have mild antimicrobial properties and give kombucha its characteristic tartness.
What Is a SCOBY and How Do You Get One?
SCOBY stands for "symbiotic culture of bacteria and yeast." It's the living community of microorganisms that ferments the tea. Visually, the SCOBY looks like a rubbery, gelatinous disc — usually off-white to tan in color — that floats on the surface of the brewing liquid. That disc itself is primarily a cellulose mat produced by acetic acid bacteria, and woven through it (and suspended in the liquid) are the yeast and bacteria that do the actual fermentation work.
The SCOBY is remarkably resilient. It thrives in sweet tea at room temperature, consumes sugar as fuel, and produces the acids, carbon dioxide, and trace alcohol that define kombucha. Each batch grows a new layer on top of the old one, which is why brewers end up with a stack of SCOBY discs over time. The whole culture is reusable indefinitely — as long as it's kept healthy.
What a Healthy SCOBY Looks Like
A healthy SCOBY is smooth, firm, and rubbery, with a texture like a firm mushroom cap or a jellyfish. It should be off-white to light tan in color. Brown stringy strands hanging from the SCOBY or floating in the liquid are completely normal — these are clumps of yeast, and they're a sign of an active, healthy culture. Small brown spots on the SCOBY itself are usually just tea sediment or yeast colonies and are harmless.
What you must watch for is mold. Mold is fuzzy, dry, and typically green, black, blue, or gray — and it only ever grows on the top surface, never submerged in the liquid. If you see fuzz, discard the entire batch and sanitize your equipment before starting over. When in doubt, throw it out.
How to Grow Your Own SCOBY from Raw Kombucha
You don't need to buy a SCOBY to start brewing. You can grow one from a single bottle of plain, unflavored, raw kombucha that contains live cultures (check that the label says "raw" or "unpasteurized" and lists no flavorings). Here's how:
- Brew strong sweet tea. Boil 4 cups of filtered water, steep 4-6 black tea bags for 5-10 minutes, remove the bags, and stir in 1/2 cup of plain white sugar until fully dissolved.
- Cool it completely. Add 4 cups of cold filtered water to bring the tea to room temperature. The mixture must be below 90°F before you add the live culture — heat will kill the bacteria and yeast.
- Combine with the raw kombucha. Pour the sweet tea into a clean glass jar and add the entire bottle of raw kombucha. The bottled kombucha acts as your "starter liquid."
- Cover and rest. Cover the jar with a clean cloth or coffee filter secured with a rubber band, and place it in a warm, dark spot (70-80°F) out of direct sunlight.
- Wait 2-4 weeks. Over the course of a few weeks, a new rubbery disc — your first SCOBY — will form across the surface of the liquid. Once it's firm, smooth, and about 1/4 inch thick, it's ready to use in your first full batch of kombucha.
Alternatively, if you know someone who brews kombucha, simply ask for a SCOBY and a cup of their starter liquid — kombucha brewers are famously generous, and they almost always have an extra culture to share.
Essential Equipment: Why Glass Matters
Brewing kombucha requires surprisingly little equipment. Here's the complete shopping list for your first batch:
- A large glass jar (1 gallon / 4 liters) for the first fermentation
- A breathable cover — a clean cotton cloth, tea towel, or coffee filter, plus a rubber band to secure it
- Glass bottles with flip-top (swing-top) lids for the second fermentation and carbonation
- Filtered water — tap water chlorine can stress the culture
- Plain black or green tea (loose leaf or bags, unflavored)
- Plain white sugar (the yeast needs simple sugar; honey and artificial sweeteners do not work the same way)
- Non-reactive utensils — wood, bamboo, plastic, or silicone spoons for stirring and handling the SCOBY
- A funnel and fine mesh strainer for bottling
Why Glass — and Never Plastic or Metal — for Fermentation
The vessel you ferment in is the single most important equipment decision you'll make, and the answer is always glass. Here's why:
- Acidity and plastic don't mix. Kombucha is acidic (its pH drops to around 2.5-3.5 during fermentation), and acids can gradually leach chemicals from plastic containers — especially cheap or reused plastic. Glass is chemically inert and never imparts anything into your brew.
- Metal reacts with acids. The organic acids in kombucha can corrode certain metals — aluminum and unlined steel, for example — which can alter the flavor and introduce unwanted metal ions into the drink. Glass eliminates this concern entirely.
- Glass is non-porous and easy to sanitize. Fermentation vessels must be scrupulously clean, and glass can be washed in hot, soapy water or sterilized with boiling water without worry. Plastic scratches easily, and those scratches become hiding places for bacteria and mold.
- You can see what's happening. A clear glass jar lets you watch your SCOBY form, monitor the liquid for signs of mold or contamination, and observe the beautiful amber color of your brewing tea. Fermentation is a visual process — don't brew blind.
- Borosilicate glass is thermal shock resistant. When you brew a fresh batch, you'll pour hot sweet tea into your jar. Borosilicate glass handles the rapid temperature change without cracking — a real advantage for home brewers.
Step-by-Step: Brewing Your First Batch of Kombucha
This is the recipe that will become your standard. It makes about 1 gallon of kombucha — roughly 3 quarts of finished drink after you reserve starter liquid for your next batch. The measurements are designed for beginners: enough sugar to feed the culture, enough tea for flavor and tannins, and a full cup of starter liquid to acidify the brew quickly and protect it from contamination.
First Fermentation (1F)
Classic Kombucha First Fermentation
Time: 7-14 days | Difficulty: Easy | Yield: About 3 quarts
Ingredients
- 8 cups filtered water (64 oz / about 1.9 L), divided
- 1/2 cup plain white sugar (100 g)
- 8 black tea bags (or 2 tablespoons loose-leaf black tea) — plain, unflavored
- 1 SCOBY
- 1 cup starter liquid (240 ml) — raw, unflavored kombucha from your previous batch or store-bought
Equipment
- 1-gallon glass jar — never plastic or metal for fermentation
- Clean cloth or coffee filter plus a rubber band to cover the jar
- Large pot for boiling water, wooden or plastic spoon
- Kitchen thermometer (optional but helpful)
Instructions
- Boil half the water. Bring 4 cups of filtered water to a rolling boil in a large pot. Remove from heat.
- Dissolve the sugar. Stir in the 1/2 cup of sugar until it is completely dissolved. The sugar is not for sweetness — it is the fuel for your SCOBY, so don't skip it or substitute.
- Steep the tea. Add the 8 tea bags (or loose-leaf tea in a strainer) and let them steep for 5-10 minutes. A longer steep gives more tannins, which the culture loves. Remove the tea bags and let the sweet tea cool.
- Cool with cold water. Add the remaining 4 cups of cold filtered water to the pot. This quickly brings the sweet tea down near room temperature. Let it sit until it is below 90°F (32°C) — hot tea will kill your SCOBY.
- Fill the jar. Pour the room-temperature sweet tea into your clean 1-gallon glass jar.
- Add the starter liquid. Pour in the 1 cup of starter liquid and stir gently with a wooden or plastic spoon. The starter acidifies the brew, creating an environment where the good cultures thrive and unwanted microbes struggle to survive.
- Add the SCOBY. Gently place the SCOBY on top of the liquid. It may float, sink, or tilt — all are fine. It will usually float back to the surface within a day or two.
- Cover and rest. Cover the jar opening with your cloth or coffee filter and secure it with the rubber band. This lets air in for the fermentation while keeping out dust, insects, and mold spores.
- Ferment for 7-14 days. Place the jar in a warm, dark spot (70-80°F / 21-27°C), out of direct sunlight. After about 7 days, start tasting with a clean straw: the kombucha is done with the first fermentation when it's pleasantly tangy with a hint of remaining sweetness — not syrupy-sweet, not sharply vinegary. Total time depends on your room temperature and taste preference.
Second Fermentation (2F): Adding Fizz and Flavor
Once the first fermentation is complete, you have two choices: drink it as-is (a mild, lightly fizzy tea), or bottle it for a second fermentation that produces a much fizzier, fruitier, more exciting drink. This is where homemade kombucha really shines — you get to create your own flavor combinations for a fraction of the cost of store-bought bottles.
Second Fermentation with Flavoring
Time: 2-4 days | Difficulty: Easy | Yield: 6-7 bottles (16 oz each)
Ingredients
- Your finished first-fermentation kombucha (about 2.5 quarts after reserving starter)
- Flavoring of your choice — fruit, juice, ginger, or herbs (see the flavoring ideas below)
- Optional: 1/4 teaspoon sugar or a splash of fruit juice per bottle for extra carbonation
Instructions
- Reserve your starter. Carefully remove the SCOBY from the jar along with 1 cup of the kombucha liquid. Set both aside in a covered glass bowl — this becomes your starter for the next batch.
- Bottle the rest. Using a funnel, fill your flip-top glass bottles with the fermented kombucha, leaving about 1-1.5 inches of headspace at the top.
- Add flavoring. Drop your chosen fruit, ginger, herbs, or juice into each bottle. The flavoring provides the extra sugar the yeast need to create carbon dioxide — that's what creates the fizz.
- Seal tightly. Close the flip-top lids firmly. A proper seal is essential — carbonation only builds if no gas can escape.
- Ferment for 2-4 days. Leave the bottles at room temperature, out of direct sunlight. The liquid will become progressively fizzier and more flavorful.
- Chill and enjoy. Once the fizz is where you like it, move the bottles to the refrigerator. Always chill kombucha completely before opening — cold liquid holds more dissolved gas, so you'll lose less fizz (and avoid a messy geyser).
6 Delicious Flavoring Ideas for Second Fermentation
The second fermentation is where you make kombucha your own. Here are six tried-and-true flavor combinations, with amounts per 16 oz bottle:
- Ginger: Add 1 tablespoon of finely grated fresh ginger. It's zesty, warming, and a classic pairing — plus fresh ginger naturally boosts carbonation because it feeds the yeast generously. This is the perfect starter flavor.
- Strawberry: Add 3-4 ripe strawberries, lightly mashed. The natural sugars create excellent fizz, and the result tastes like a sparkling fruit soda with a tangy finish.
- Mango: Add 1/4 cup of ripe mango chunks (or 2 tablespoons of mango puree). Mango gives a creamy, tropical sweetness that mellows kombucha's acidity beautifully.
- Hibiscus: Add 1 tablespoon of dried hibiscus flowers. This gives the kombucha a deep ruby color and a tart, floral, cranberry-like flavor. It also adds a gorgeous visual pop to your glass.
- Lavender: Add 1 teaspoon of dried culinary lavender buds. Lavender is intensely aromatic, so start with less than you think — a little goes a long way. The result is a floral, calming, slightly perfumed brew.
- Lemon: Add 2 teaspoons of fresh lemon juice plus a strip of lemon zest. Bright, citrusy, and refreshing, this is the closest homemade kombucha gets to a sparkling lemonade.
Kombucha vs Sparkling Water vs Soda vs Kefir
How does kombucha stack up against the other drinks people reach for when they want fizz or fermented goodness? Here's a side-by-side comparison based on a standard 8 oz serving:
| Property | Kombucha | Sparkling Water | Soda | Milk Kefir |
|---|---|---|---|---|
| Fermented? | Yes (sweet tea + live cultures) | No (carbonated water) | No (carbonated syrup) | Yes (milk + kefir grains) |
| Live cultures (probiotics) | Yes (raw, unpasteurized) | No | No | Yes |
| Sugar per 8 oz | ~2-6 g (most consumed by cultures) | 0 g | 20-40 g | ~10 g (plain, from lactose) |
| Caffeine | Small amount (from tea) | None | Often (cola) | None |
| Calories per 8 oz | 30-40 | 0 | 90-150 | 60-100 |
| Carbonation | Naturally fizzy (from fermentation) | High | High | Low / none |
| Best for | Gut-friendly fizz with flavor | Zero-calorie hydration | Sweet cravings | Dairy-based probiotics and creaminess |
The takeaway? Kombucha occupies a unique niche. It delivers the satisfying fizz of a sparkling beverage, the flavor depth of a specialty drink, and live cultures for your gut — all with a fraction of the sugar and calories of soda. Sparkling water is the winner for plain, calorie-free hydration but offers no fermentation benefits. Soda is the sweetest and least nutritious option. Milk kefir is a nutritional powerhouse with more diverse probiotic strains, but it's a creamy dairy drink, not a refreshing fizzy tea — and it's off the table for anyone avoiding dairy. If you want a sparkling, flavorful, gut-friendly drink you brewed yourself, kombucha is the clear choice.
Troubleshooting Common Problems
Even experienced brewers hit snags. Here are the four most common kombucha problems and exactly how to fix them.
Mold vs SCOBY: How to Tell Them Apart
This is the question every new brewer asks. The rule is simple: mold is fuzzy and dry; SCOBY is smooth and shiny.
- Mold: Appears as dry, fuzzy patches — usually green, black, blue, or gray — that sit only on the surface of the liquid. It can look like a spot of fur. It never grows below the surface. If you see it, discard the entire batch and thoroughly sanitize your jar before starting over.
- SCOBY: Smooth, glossy, rubbery, and off-white to tan. It grows as a solid, cohesive disc across the surface. Brown stringy strands are yeast — normal and healthy. A thin, clear or cloudy film that's still forming is a young pellicle, not mold.
My Kombucha Is Too Sour
Cause: It fermented too long, or the room was too warm, which accelerates the process and converts more sugar to acid.
Solution: Shorten your first fermentation — start tasting at day 5-6 and harvest when it's only mildly tart. If you still want to bottle it, add a little more fruit or juice during the second fermentation, or sweeten each glass lightly when serving. Remember, kombucha continues to acidify as it sits even in the refrigerator, just much more slowly.
My Kombucha Isn't Fizzy
Cause: Several possibilities: bottles that don't seal tightly enough to trap gas, a second fermentation that was too short or too cold, not enough sugar left for the yeast to eat, or a weak culture.
Solution: Make sure your flip-top bottles have intact rubber gaskets and seal firmly. Bottle your kombucha while it still has a little sweetness left (the yeast need sugar to make CO2), and add a splash of fruit juice or 1/4 teaspoon of sugar per bottle if the liquid is already too dry. Give the 2F 3-4 days in a warmer spot (75-80°F) before chilling. Fresh ginger added during 2F is a reliable fizz booster.
Fruit Flies Keep Getting In
Cause: Fruit flies are irresistibly attracted to the sweet, acidic smell of fermenting tea — and they can carry bacteria that contaminate the batch.
Solution: The cloth cover over your jar must be secured tightly with a rubber band at all times — coffee filters are particularly effective because flies can't squeeze through the weave. Never leave the jar uncovered, even briefly, and wipe up any spills around the jar immediately. If you're battling flies, set a small bowl of apple cider vinegar with a drop of dish soap nearby as a trap.
Safety: What Every Home Brewer Must Know
Brewing kombucha is safe and rewarding when you follow a few critical rules. Ignore them and you can damage your equipment — or worse, hurt yourself. Here are the non-negotiables:
Serving Your Homemade Kombucha: The MESNEY Difference
You've brewed a beautiful batch — now it deserves a beautiful glass. Kombucha is a drink you taste with your eyes first: the deep amber tea, the gentle cascade of bubbles, the floating fruit or herbs. MESNEY's borosilicate glassware is made to showcase exactly that. Here are the pieces we recommend for the home kombucha brewer:

40oz Glass Teapot with Infuser
Why it's the star for kombucha: The 40oz capacity holds a full quart-plus of your chilled home-brewed kombucha — perfect for serving the whole family or a small gathering. The removable infuser basket doubles as a garnish holder: drop in sliced strawberries, a few mint leaves, or a strip of lemon zest, and the glass teapot turns your kombucha into a centerpiece. The borosilicate glass is thermal shock resistant for easy hot-water cleaning, and the clear body lets the amber tea and rising bubbles steal the show. Brew it, bottle it, chill it, and serve it from this teapot.
Buy Now
17oz Double Walled Glass Coffee Mug (1pc)
The perfect single-serving glass for your daily kombucha fix. The double wall construction keeps the chilled drink cold for longer, prevents condensation, and keeps your hands dry and comfortable — even when the glass is filled with ice. The transparent borosilicate glass shows off the color of your brew and any fruit garnish.
Buy Now
Double Wall Espresso Cups (Set of 4, 6.7oz)
Four perfectly sized tasting cups for a kombucha flight. The 6.7oz capacity gives you a generous pour of your most interesting flavors — ginger, hibiscus, lavender — so guests can compare them side by side. Double wall insulation keeps each sample cold while you talk.
Buy Now
Espresso Cups (Set of 2, 4oz)
Small, elegant pours for sampling. Use these 4oz cups to taste-test your batch at the perfect harvest point or to offer guests a quick sip of a new flavor experiment. A budget-friendly way to round out your kombucha glassware collection.
Buy NowWhy Double Wall Glass Is Perfect for Kombucha
- No condensation: The insulating air layer between the walls keeps the outside of the glass dry, even when filled with ice-cold kombucha. No drips on your table, no damp hands.
- A visual showcase: Kombucha is a beautiful drink — deep amber tea, rising bubbles, floating fruit and herbs. Clear double wall glass puts the whole show on display.
- Temperature retention: The double wall slows heat transfer, so your chilled kombucha stays cold and crisp from the first sip to the last.
- Thermal shock resistance: Borosilicate glass handles both the hot sweet tea you pour during brewing prep and the icy drink you serve — and the rapid temperature swings of washing between the two.
- Comfortable to hold: Cold contents never make the outer wall cold to the touch, so you can hold the glass comfortably without a coaster or napkin.
Frequently Asked Questions
How long does it take to brew kombucha?
The first fermentation takes 7-14 days, depending on room temperature and your taste preferences. The second fermentation (for fizz and flavor) adds another 2-4 days. A full cycle typically runs 9-18 days from start to finished, chilled drink. Warmer rooms ferment faster; cooler rooms slower.
Can I use green tea instead of black tea?
Yes. Kombucha can be made with black tea, green tea, or any blend of the two. Green tea produces a lighter, more delicate flavor with less caffeine. Whatever you choose, make sure it's plain, unflavored tea — flavored or herbal teas can contain oils that stress or damage the SCOBY. A 50/50 black-green blend is a popular choice for beginners.
Does kombucha contain alcohol?
Yes, a small amount. Because kombucha is a fermented beverage, it naturally contains trace alcohol — typically 0.5% to 1% by volume when harvested normally. Longer fermentations, warmer temperatures, and high-sugar second fermentations can raise it further. If you need to avoid alcohol entirely, consult your doctor before drinking raw kombucha.
Why is there brown stringy stuff floating in my kombucha?
That's completely normal — it's yeast. As the culture works, yeast forms clumps and strands that hang from the SCOBY or drift in the liquid. It looks alarming but is a sign of a healthy, active culture. You can leave it alone, or strain it out when bottling for a cleaner-looking drink.
How do I know when my kombucha is done?
Taste it. Starting at day 7, dip a clean straw into the jar and take a sip. Done kombucha is pleasantly tart with only a hint of sweetness. If it tastes like sweet tea, it needs more time. If it tastes like straight vinegar, you've gone too far — but it's still safe to drink, just very tangy (and it makes an excellent vinegar substitute in dressings).
Can I reuse my SCOBY?
Yes — indefinitely. The SCOBY is a living culture that produces a new layer with every batch. After each first fermentation, the original SCOBY plus its new layer can be used to start the next batch. Keep your spare cultures in a "SCOBY hotel": a glass jar filled with extra starter liquid, stored in the refrigerator, where they'll stay healthy for months.
Can I brew kombucha in a plastic container?
Not recommended. The acidic brew can leach chemicals from plastic, which affects both safety and flavor. Glass is the gold standard because it's inert, non-porous, easy to sanitize, and lets you see your SCOBY and check for mold. If you have a large glass jar and flip-top glass bottles, you have everything you need.
How much sugar is left in the finished kombucha?
Much less than you'd think. The yeast consumes most of the sugar during fermentation — a typical finished home brew contains roughly 2-6 grams of sugar per 8 oz serving, depending on how long you ferment and how much sugar you add during the second fermentation. That's a fraction of the 20-40 grams in a typical soda.
The Bottom Line
Brewing kombucha at home is one of the most rewarding kitchen projects you can take on. It's genuinely easy — the culture does the work, and your job is mostly to taste, wait, and taste again. It's remarkably inexpensive: after your initial equipment purchase, each gallon costs only the price of tea and sugar, a fraction of what you'd pay for store-bought bottles. And it's endlessly customizable: ginger, strawberry, mango, hibiscus, lavender, lemon — your second-fermentation flavors are limited only by your imagination.
Along the way, you'll also learn the fundamentals of fermentation: why glass is the only vessel you should trust with your acidic brew, how a living culture thrives on sugar and tea, and how a few days of patient waiting transform simple ingredients into a fizzy, tangy, probiotic-rich elixir. The same glass rules that keep your kombucha safe — inert, non-porous, see-through, easy to sanitize — are exactly why MESNEY makes its teapots and drinkware from borosilicate glass.
When your first batch is finished and chilled, pour it into a MESNEY 40oz glass teapot to share, or fill a 17oz double wall glass mug with ice and watch the bubbles rise. You brewed it with your own hands, from a culture two thousand years old, and it tastes better than anything with a fancy label.
Make the tea. Add the culture. Wait. Taste. Bottle. Flavor. Chill. Enjoy your first glass of home-brewed kombucha — and then start the next batch, because this habit is going to stick.
As an Amazon Associate, MESNEY earns from qualifying purchases. Prices and availability are subject to change.