Homemade Coffee Creamer: One Base Recipe, Five Flavours
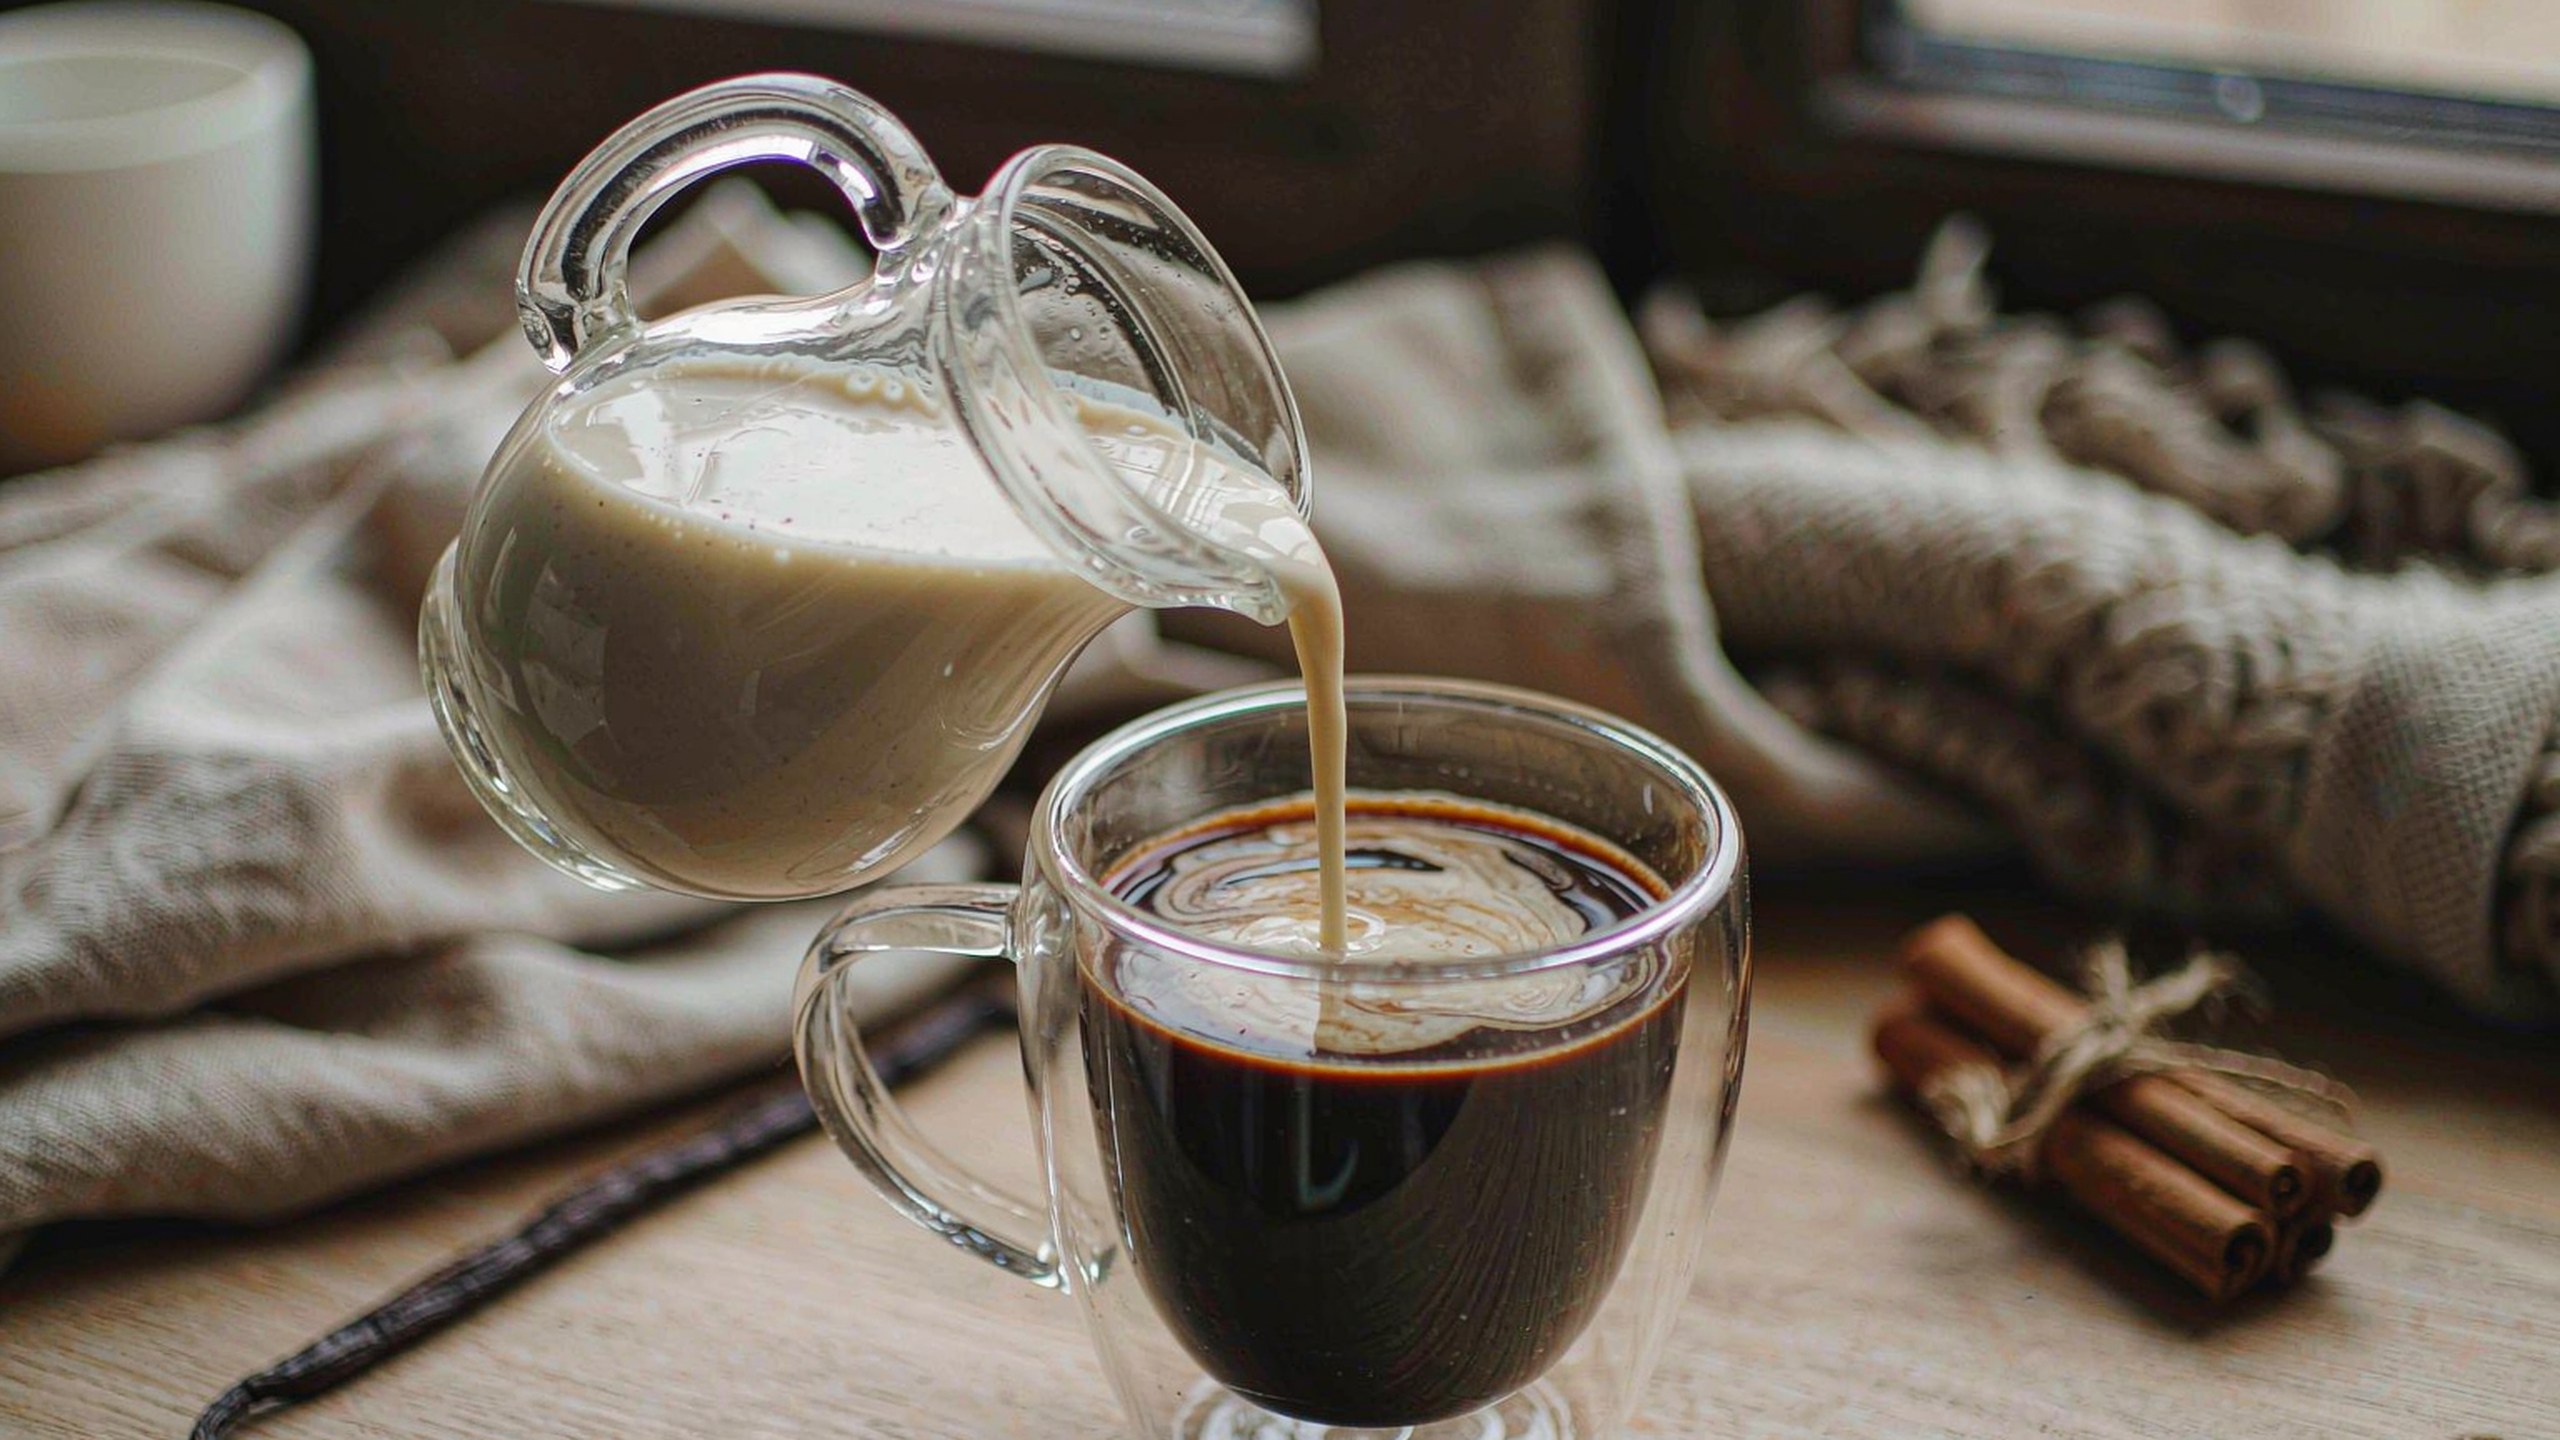
Homemade coffee creamer needs three things: a milk, a sweetener and a flavour. Mix two cups of milk with two to three tablespoons of sweetener and a teaspoon of extract or a spoonful of syrup, and you have a creamer that costs a fraction of the carton, contains nothing you cannot pronounce, and can be adjusted until it tastes exactly right.
The catch is shelf life, not technique. Without preservatives a homemade creamer keeps about four to five days in the fridge, so you make smaller batches more often. Everything else about it is easier than the carton version.
Why Make Your Own Coffee Creamer?
Three reasons, roughly in order of how much they matter to most people. Control comes first: you decide the sweetness, the thickness and the flavour strength, and you can dial any of them down without hunting for a low-sugar version at the store. Ingredients come second, because a homemade creamer is milk, sugar and flavour rather than milk, sugar, flavour, stabilisers, emulsifiers and preservatives. Cost comes third, and it is real — a two-cup batch is a few ingredients you probably already have.
There is also a flavour argument. Store creamers are built to be stable on a shelf, which constrains what can go into them. A homemade batch can use real vanilla, fresh cinnamon, actual cocoa, or a caramel you cooked yourself, and the difference in the cup is immediate.
The Three-Part Base
Every flavour in this article is built on the same skeleton. Learn the base and the rest is substitution.
| Part | Amount | Choose it for |
|---|---|---|
| Milk | 2 cups | Body. Whole milk is creamiest; oat milk is the best dairy-free match |
| Sweetener | 2–3 tbsp | Sweetness. Sugar, maple syrup or condensed milk for extra body |
| Flavour | 1–2 tsp extract, or 1–2 tbsp syrup | Identity. Vanilla, almond, hazelnut, cocoa, cinnamon |
Two optional additions change the texture rather than the taste. A tablespoon of heavy cream makes the result noticeably richer and closer to the store version. A quarter teaspoon of xanthan gum, or a teaspoon of cornstarch whisked into a little cold milk first, thickens the batch so it coats the coffee instead of separating on top. Neither is necessary, but if the carton version is what you are trying to match, thickness is usually the missing piece.
Vanilla Coffee Creamer Recipe
Basic Vanilla Coffee Creamer
- 2 cups whole milk (or oat milk)
- 2 tbsp maple syrup or granulated sugar
- 1 tbsp heavy cream (optional, for richness)
- 2 tsp vanilla extract, or the seeds of half a vanilla pod
- Pinch of salt
- Warm the milk gently in a saucepan until it steams but does not simmer. Heat helps the sugar dissolve evenly.
- Whisk in the sweetener and the salt until both have fully dissolved.
- Take the pan off the heat and stir in the vanilla extract. Adding it off the heat keeps the aromatic compounds from cooking off.
- Stir in the cream if you are using it.
- Cool to room temperature, then pour into a clean glass bottle or jar and refrigerate. It will keep four to five days.
Using a whole vanilla pod instead of extract gives a rounder, less sharp flavour — split the pod, scrape the seeds into the warm milk, and drop the empty pod in too while it cools. Fish the pod out before bottling.
Five More Flavours from the Same Base
Swap the flavour element and keep everything else identical. The amounts below are per two-cup batch.
| Flavour | What to add | Notes |
|---|---|---|
| Hazelnut | 1.5 tsp hazelnut extract | Go easy — hazelnut extract is strong and turns bitter past two teaspoons |
| Caramel | 2 tbsp caramel sauce, or 2 tbsp sugar cooked to amber | Cooked sugar gives a deeper flavour than sauce; whisk in while the milk is warm |
| Cinnamon vanilla | 1 tsp vanilla extract + 1/2 tsp ground cinnamon | Warm the cinnamon with the milk and strain before bottling |
| Mocha | 1 tbsp unsweetened cocoa + 2 tsp vanilla extract | Whisk the cocoa into a little warm milk first so it does not clump |
| Coconut | 1 tsp coconut extract, or 1/4 cup coconut milk in place of some dairy | Pairs well with a lighter roast and with iced coffee |
Cinnamon and cocoa both need heat and a whisk; extracts do not. That is the only real difference between the rows. If a batch tastes too strong, add milk rather than water — water thins the body and makes the creamer feel like it has gone off.
Dairy-Free and Oat Milk Versions
Oat milk makes the best dairy-free creamer by a clear margin, because it has enough natural fat and sweetness to mimic the body of dairy without any additives. Use it one-to-one in place of whole milk and reduce the sweetener slightly, since oat milk is already sweet.
Almond milk is thinner and will read as watery unless you add thickener or a spoonful of coconut cream. Soy milk sits between the two and behaves closest to dairy in hot coffee, where it is least likely to separate. Coconut milk is the richest option and works well in iced drinks, where its flavour reads as deliberate rather than as a substitution.
One practical note for any plant milk: they separate more readily in very hot coffee than dairy does. Pouring the coffee first and adding the creamer after, rather than the other way round, keeps the texture smoother.
How Long It Keeps, and How to Store It Safely
A homemade creamer with no preservatives holds for about four to five days in the refrigerator. Treat that as a hard limit rather than a suggestion, and write the date on the bottle when you make it, because there is nothing on the container to remind you.
- Use a clean glass bottle or jar with a tight lid. Glass does not hold onto the previous batch's flavour the way plastic does, and it is easier to see that the contents are still good.
- Keep it in the main refrigerator compartment, not in the door, where the temperature swings every time the door opens.
- Never leave it out. A creamer sitting on the counter through a morning of coffee is a dairy product at room temperature; put it back between pours.
- Shake before every use. Homemade creamer separates as it sits. That is normal and not a sign it has spoiled.
- Trust the smell. If it smells sour or looks separated after shaking, discard it rather than tasting it.
If you want a longer shelf life without preservatives, make a smaller batch more often rather than trying to stretch a large one.
Will It Froth? What to Expect
A homemade creamer froths less than a store-bought one, and it is worth knowing why before you conclude that yours failed. Commercial creamers contain emulsifiers and stabilisers that hold a foam structure; milk, sugar and vanilla do not. Warm milk foams better than cold, and dairy foams better than any plant milk.
What a homemade creamer does very well is swirl. Because it is thinner than the carton version, it ribbons through black coffee instead of sinking straight to the bottom, and in a clear glass you can watch it incorporate. If you want a genuine foam layer rather than a swirl, our milk frothing guide and cold foam guide cover the techniques that actually build one.

17oz Double Walled Glass Mug
A clear double-wall mug lets you see the creamer ribbon through the coffee instead of disappearing, and the air gap keeps the cup hot while you drink it slowly.
Buy Now
6.7oz Double Wall Espresso Cups (Set of 2)
A 6.7oz double-wall cup is the right size for a small pour of coffee with a proper measure of creamer, where the ratio is easier to judge than in a full mug.
Buy Now
17oz Double Walled Glass Mugs (Set of 2)
Creamer is a two-cup habit in most households. A matched pair means both cups are brewed and drunk at the same temperature.
Buy NowAdjusting Sweetness and Thickness
Two adjustments cover almost every complaint. If the creamer is too sweet, cut the sweetener by a third and add a pinch more salt — salt suppresses the perception of sweetness more effectively than simply removing sugar does. If it is too thin, add heavy cream or a quarter teaspoon of xanthan gum rather than more milk, because more milk dilutes the flavour along with the body.
If it is too strong, add milk a quarter cup at a time and taste as you go. And if the flavour tastes flat rather than weak, the problem is usually temperature: the flavour compounds in an extract are volatile, so a batch made with the milk still simmering will taste duller than one made off the heat. Our vanilla latte guide shows what the creamer does in a full drink, and the coffee-to-water ratio guide is the other half of a balanced cup.
Frequently Asked Questions
How long does homemade coffee creamer last?
About four to five days in the refrigerator in a clean, tightly closed container. It has no preservatives, so the date you made it is the date to plan around.
Why is my homemade creamer separating?
Separation is normal and expected — a homemade creamer has no stabilisers to hold it together. Shake the bottle before each use. If it stays separated after shaking and smells sour, discard it.
Can I use plant milk instead of dairy?
Yes. Oat milk is the closest match in body and sweetness, soy milk behaves best in hot coffee, and almond milk works if you add a thickener or a spoonful of coconut cream. Reduce the sweetener slightly with oat milk.
Why does my homemade creamer not froth like the store version?
Because commercial creamers contain emulsifiers and stabilisers that hold foam, and milk with sugar and extract does not. Warm milk froths better than cold, and dairy froths better than plant milk.
How much creamer should I use per cup?
Start with one to two tablespoons in a 10–12oz cup and adjust. A homemade creamer is usually thinner than the carton version, so it spreads further and mixes in faster.
Can I make a sugar-free version?
Yes. Leave out the sweetener entirely or use a sugar-free syrup, and add the flavour as extract. Expect a thinner result, since sugar contributes body as well as sweetness — a little cream or thickener restores it.
Final Thoughts
Homemade coffee creamer is one of the easiest things in the kitchen to get right, because there is no technique to master — only a base to learn and a flavour to swap. Two cups of milk, two tablespoons of sweetener, two teaspoons of extract, and five minutes at the stove.
The constraint is freshness, and that constraint is also what makes it good: you are drinking a dairy product made a day or two ago with ingredients you chose, rather than a shelf-stable carton built to survive a warehouse. Make small batches, date the bottle, and keep it cold.
As an Amazon Associate, MESNEY earns from qualifying purchases. Prices and availability are subject to change.